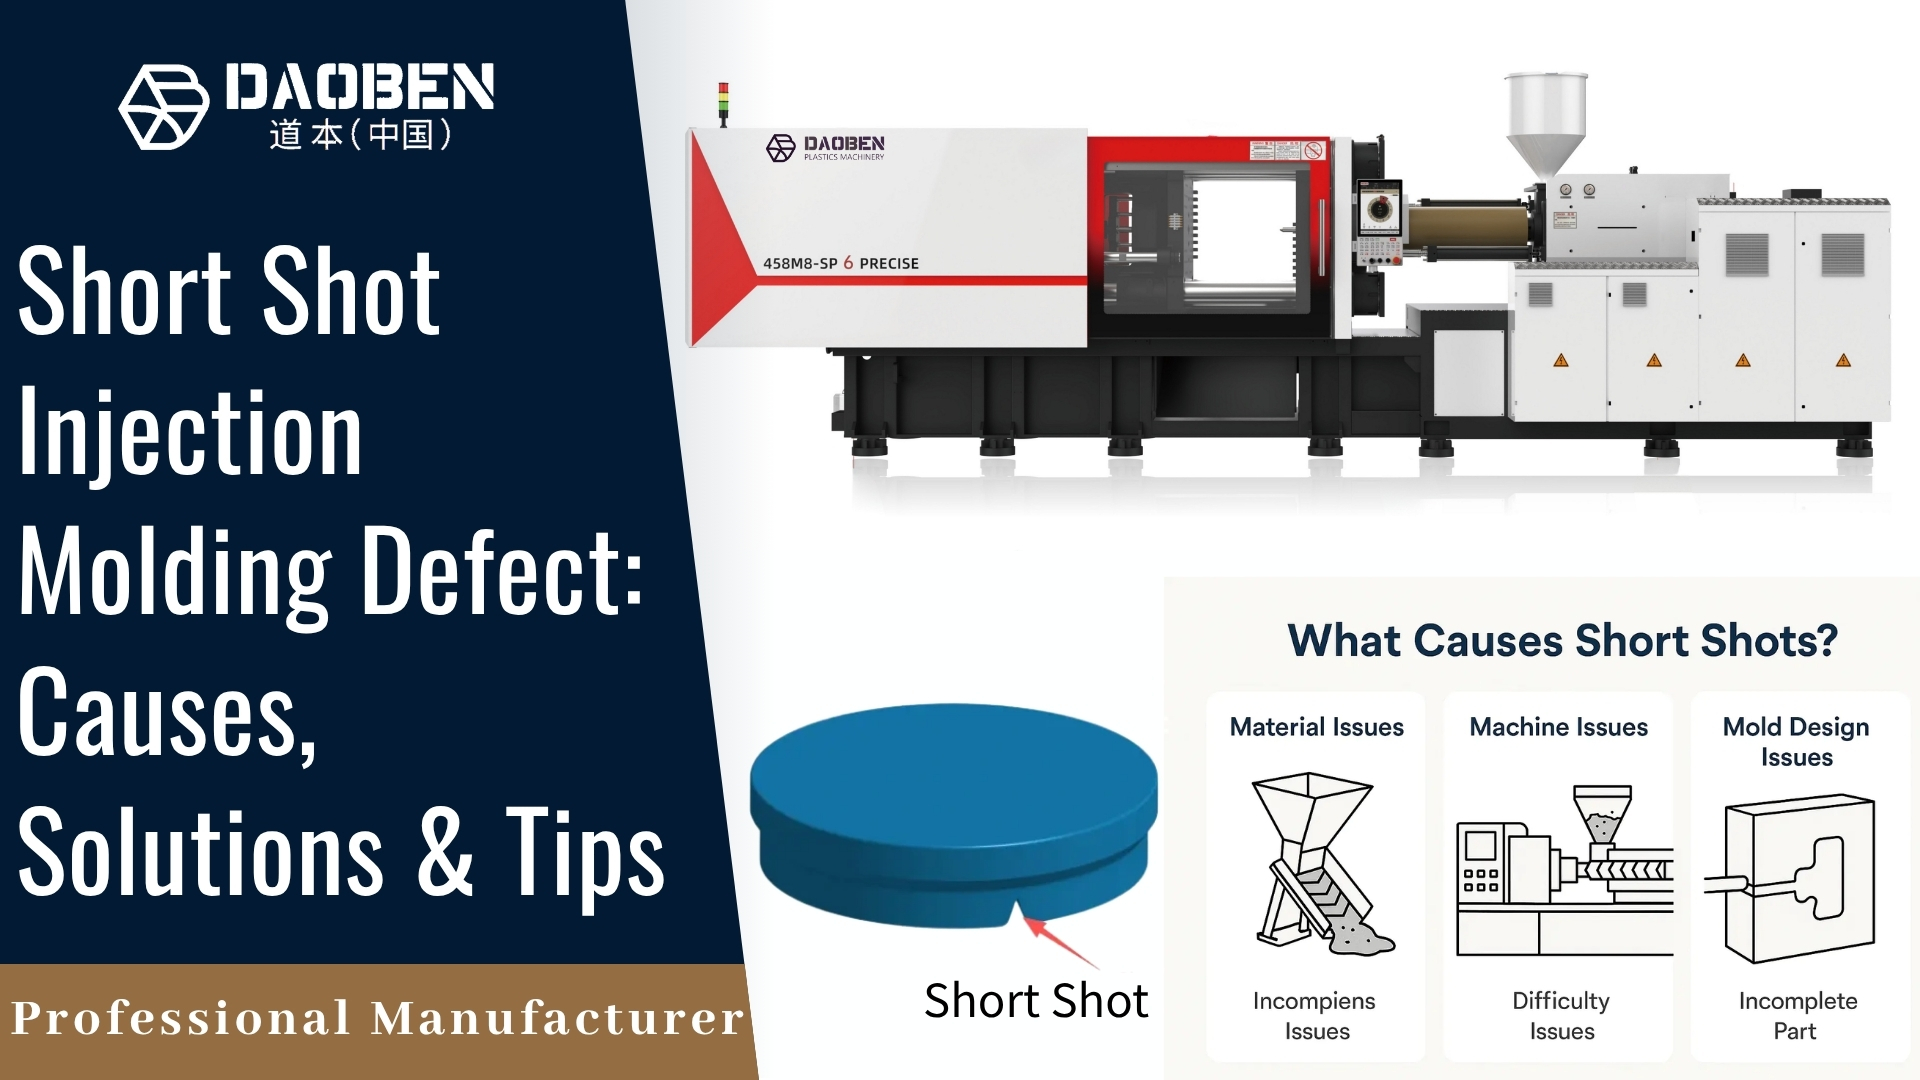
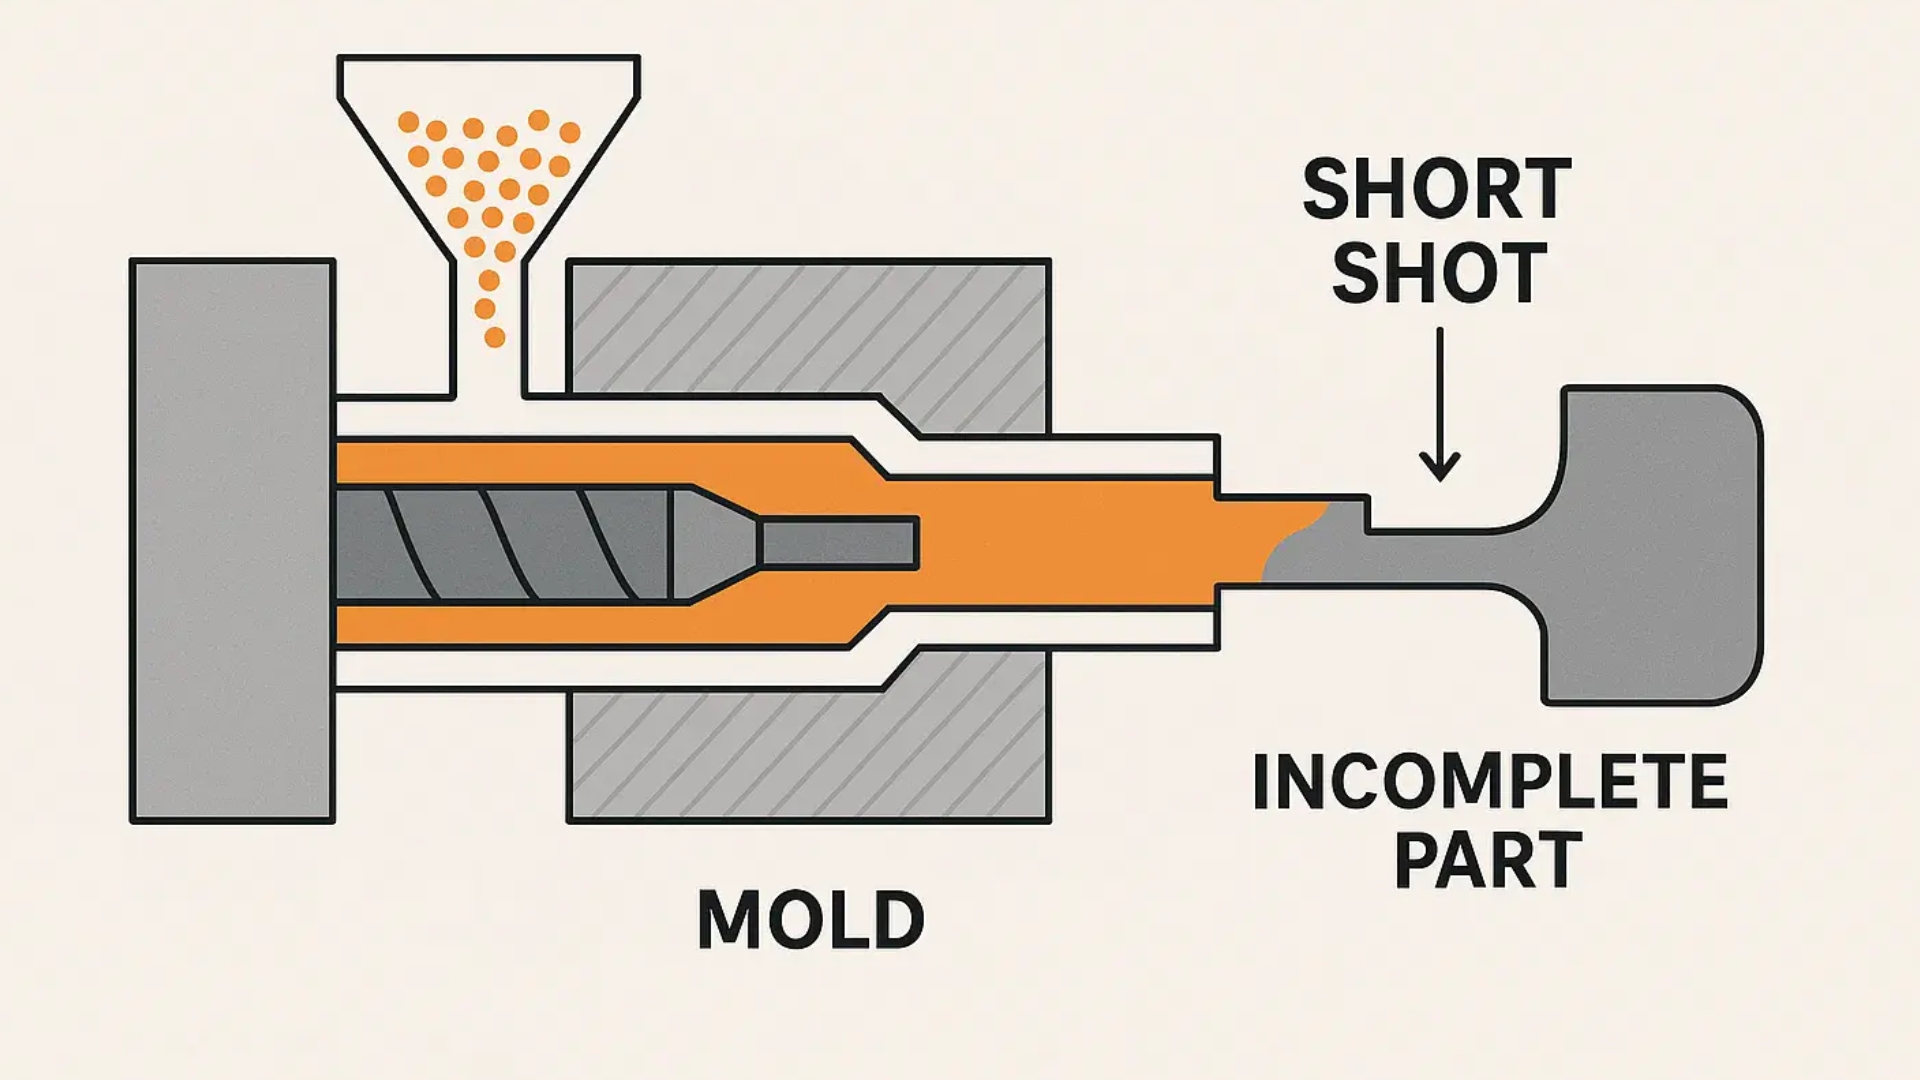
Short shot injection molding happens when molten plastic stops flowing before it reaches every corner of the mold cavity. The part comes out with missing sections, thin edges, or gaps near the last-to-fill areas, and none of that material loss can be reversed after the shot solidifies. It is one of the most common defects operators troubleshoot, and also one of the most misdiagnosed.
One senior process engineer at a Tier-1 automotive supplier noted that roughly 70 percent of chronic short shots trace back to gating, venting, or thermal design, not machine settings alone. That distinction matters, because many operators reach for temperature or pressure adjustments first when the real fix sits in the mold itself.
This guide covers the root causes of short shot defects, the machine settings most likely to fix them, and when the problem actually requires mold rework instead of a process tweak.
Quick Answer: Short shot in injection molding occurs when molten plastic solidifies before completely filling the mold cavity, leaving voids or missing sections. Common causes include low melt or mold temperature, insufficient injection pressure or speed, inadequate venting, and undersized shot capacity relative to the part and runner weight.
What Causes Short Shot in Injection Molding
The core mechanism behind every short shot is the same: flow resistance exceeds the force pushing plastic through the mold. Wall thickness, flow length, mold temperature, melt temperature, and material viscosity all affect that resistance, so a short shot rarely has a single cause. Diagnosing it correctly means checking material, machine, and mold factors together rather than guessing at one setting.
Resin viscosity plays a bigger role than many operators expect. High-viscosity resins struggle to flow through long or narrow paths, especially in geometrically complex parts. If a material change is on the table, choosing a grade with better flow characteristics can solve a chronic short shot problem faster than any process adjustment.
Machine-Related Causes
On the machine side, short shots often come from injection speed that is too slow, letting the material begin to solidify before it fills the mold. Back pressure and screw speed also affect melt density and consistency during plasticizing, so incorrect settings there can starve the shot of properly conditioned material. Shot capacity is another common culprit: the total shot weight, including runners, should stay under about 85 percent of the machine’s plasticizing capacity to avoid material shortfalls.
Mold-Related Causes
Undersized gates and runners increase pressure drop across the mold, starving the far cavities in a multi-cavity tool. Poor venting traps air in the cavity, and that trapped air compresses and physically blocks plastic from filling the remaining space. Long, thin flow paths simply demand more pressure and speed than a compact part geometry, so mold design sets the ceiling on how fast a machine can fill it.
How to Fix Short Shot Injection Molding Through Machine Settings
Start with shot size before touching anything else. If shot size is set below what the cavity and runner system require, no amount of pressure or temperature adjustment will fully solve the problem. Increasing shot size to match true cavity volume is the fastest fix when the defect appears suddenly on a previously stable process.
If shot size is correct, raise barrel temperature in small 5°C increments while tracking part weight after each change. This keeps the resin fluid longer without risking thermal degradation from overheating. Injection speed should also be checked: too slow allows premature solidification, while too fast can cause the melt to skip filling corners evenly, so this setting needs incremental tuning rather than large jumps.
Mold and melt temperature both affect flow length directly. Increasing mold temperature through the temperature controller improves how far the melt travels before it cools past the point of flow. This is especially important on thin-wall parts, where the material has very little thermal mass to work with before it locks up.
When Short Shot Defects Require Mold Changes, Not Machine Adjustments
If short shots persist after shot size, temperature, and speed have all been optimized, the mold itself likely needs attention. Revising runner and gate dimensions to reduce pressure drop, or enlarging vents to release trapped air, addresses the root cause rather than compensating for it every shift. Chasing a mold-design problem with machine settings alone tends to create secondary defects like flash or burn marks as operators push pressure and temperature past safe limits.
This is where machine capability also matters. A press with inadequate injection pressure or shot capacity for the part will never fully resolve a short shot, no matter how the mold is revised. Machines like Daoben’s M8 Series injection molding machine are built with higher injection pressure capability specifically to give processors more headroom when filling complex or thin-wall geometries.
How Material Selection Affects Short Shot Risk
Not every short shot problem is a process or mold issue. Material batches can vary in melt flow index even within the same nominal grade, and a slightly lower flow lot can turn a previously stable process into one that suddenly starts producing incomplete fills. Keeping a log of melt flow index by material lot helps processors catch this before it gets blamed on machine settings that were never actually the problem.
Regrind content is another overlooked factor. Adding reground material back into the feed changes viscosity and flow characteristics slightly, and high regrind ratios on thin-wall or long-flow-path parts can push a marginal process into short shot territory. Limiting regrind percentage on parts already running close to the edge of fill capability is a simple, low-cost preventive step.
Additives also matter more than many operators expect. Color concentrates, UV stabilizers, and flame retardants can each shift flow behavior slightly compared to natural resin. When a short shot appears only after a material or additive change, that correlation is usually the fastest lead to the actual root cause, faster than re-running a full machine settings audit from scratch.
Detecting Short Shot Defects Before They Reach Packaging
Short shots typically produce visibly underweight parts, so automated scales catching parts below a target weight threshold remain one of the most reliable detection methods. In-mold pressure sensors add another layer, flagging sudden pressure drops during fill that indicate incomplete cavity filling before the part is even ejected.
Machine vision systems are increasingly used alongside weight checks, especially on high-cavity molds where a short shot in a single cavity can otherwise slip through unnoticed. According to a TechBullion report on automated plastic injection systems, this kind of real-time process monitoring is one of the biggest contributors to lower per-unit cost, because it stops defective parts from consuming downstream labor and material.
| Cause Category | Common Root Cause | Recommended Fix |
| Machine | Shot size too small | Increase shot size to exceed part + runner weight by 15% |
| Machine | Injection speed too slow | Increase incrementally, monitor for jetting |
| Mold | Poor venting | Enlarge or clean vents per resin supplier spec |
| Mold | Undersized gates/runners | Revise runner and gate dimensions to cut pressure drop |
| Material | High viscosity resin | Raise melt temperature or switch to higher-flow grade |
A Practical Troubleshooting Workflow for Short Shots
Random adjustments waste production time and often introduce new defects. A structured workflow starts with confirming shot size against actual cavity and runner volume, since this single check resolves a surprising number of short shot cases without touching temperature or pressure at all.
If shot size checks out, move to a controlled test: run ten shots, increasing hold time by one second each time, and record part weight after every shot. Once weight plateaus, additional hold time stops helping, which tells you the gate has frozen and the real issue lies in flow or venting rather than pack time. This kind of methodical, one-variable-at-a-time testing avoids the common trap of changing three settings at once and losing track of what actually fixed the problem.
Documenting each test also builds a reference record for future jobs on similar parts. Processors who keep this kind of settings history typically resolve repeat short shot issues in a fraction of the time compared to starting from scratch on every new mold.
Frequently Asked Questions
What is the main cause of short shot in injection molding?
The main cause is excessive flow resistance that stops molten plastic from fully filling the mold before it solidifies. This resistance comes from wall thickness, mold temperature, injection pressure, and material viscosity acting together, not usually from a single isolated setting.
How do you fix a short shot without changing the mold?
Check shot size first, since undersized shots are a common and easy fix. Then adjust barrel temperature in small increments, verify injection speed is not too slow, and confirm mold temperature supports the required flow length for the part.
Is short shot the same as sink marks?
No. A short shot leaves visible voids or missing sections from incomplete filling, while a sink mark is a surface depression caused by material shrinking as it cools, usually in thicker sections. Both can share root causes like insufficient pressure, but they are distinct defects.
Can poor venting cause a short shot even with enough injection pressure?
Yes. Trapped air in a poorly vented cavity compresses and physically blocks plastic from reaching that space, regardless of how much pressure the machine applies. Improving vent size and placement is often necessary even when pressure settings look correct.
Does machine size affect short shot risk?
Yes. A machine with inadequate injection pressure or shot capacity for a given part and cavity count will struggle with short shots regardless of process tuning. Matching machine capability to part complexity reduces this risk from the start.
Solving Short Shot Defects for Good
Short shot injection molding defects rarely have a single fix, but they do have a reliable diagnostic order: shot size, then temperature, then speed, then mold design. Following that sequence saves time and avoids introducing new defects while chasing the original problem.
Prevention is always cheaper than correction on a running production line. Building a standard startup checklist that confirms shot size, barrel temperature profile, and injection speed against documented settings before every new production run catches drift before it produces a full shift of defective parts.
Machines with strong injection pressure headroom make this troubleshooting process easier, because operators have more room to adjust settings before hitting a hard machine limit. Daoben’s injection molding machines, covered on the manufacturer and supplier page, are engineered with this margin in mind for processors running complex or thin-wall parts.
For processors dealing with a chronic short shot problem that machine settings alone have not resolved, the M8 Series injection molding machine page outlines injection pressure and shot capacity specs worth comparing against your current equipment.